Write a One-Page Brief Before You Start Your Project

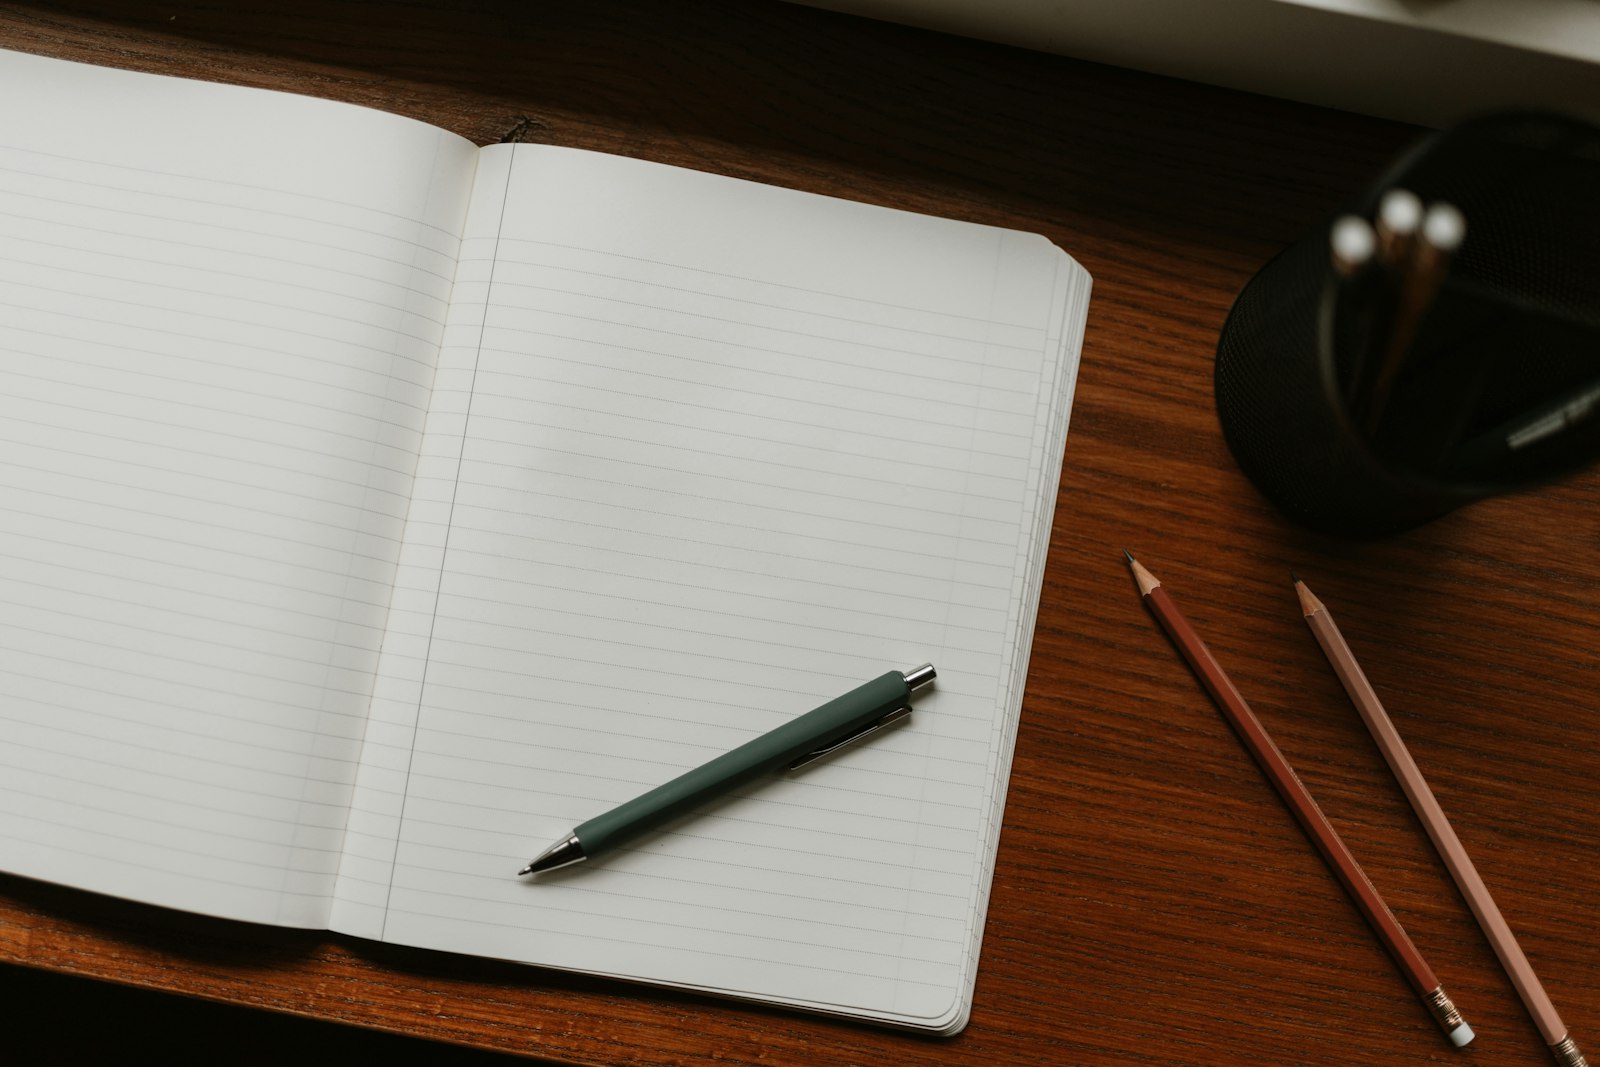
You have the idea. It is a good one, maybe the best one you have had all year, and the materials are already sitting on the table. So you start. Three weekends later the quilt has become a wall hanging, the wall hanging has become "more of a study", and you could not tell a friend what you are actually making if they asked.
Half an hour with a single sheet of paper can head most of that off. Client work comes with a brief because someone is paying and wants to know what they will get. Your own projects need one for a sillier reason: the client is you, and you change your mind every night around eleven.
Why bother when nobody is asking for it?
A brief is a set of arguments you settle in advance. Should the zine be 16 pages or 40? Does the lamp need a dimmer? Is it worth learning screen printing for this, or is that a different project wearing a disguise? Every one of those questions will come up, and it will come up at the worst moment: tired, mid-session, with glue drying.
Deciding on paper while you are calm beats deciding at the bench while you are annoyed. It also gives your excitement somewhere to go. Writing a project down at the start, when you are most in love with it, captures the reason you wanted to make it at all. That reason gets surprisingly hard to find in week five.
Keep it to one page. That limit is doing real work. A ten-page plan is a way of avoiding the project, and it will never get read again. One page forces you to choose, and you can stick it to the wall.
Six lines that fill the page
Use a notebook, a text file, the back of an envelope. These are the six things we would put on it:
- What it is. One sentence, with a noun in it. "A walnut stool" beats "something exploring form and function".
- Who it is for. A person, a room, a shelf at a market, or just you. "Me, because I want one" is a perfectly good answer.
- Why this, why now. The spark, in your own words. Do not polish it.
- The limits. Hours per week, budget, space, the skills you have today, and the date you would like it finished.
- What done looks like. Something you could check by looking at it: the stool holds an adult and does not wobble on the kitchen floor.
- What you are not doing. The tempting extras you are ruling out on purpose.
If a line takes more than a few sentences, you probably have two projects on your hands. Good news, you get to pick one.
Here is one filled in
Suppose you want to make a small zine about the bus route you ride every day. This is an invented example, but it shows the level of detail that is useful:
What: A 16-page, two-colour zine of drawings from the number 12 bus, one drawing per stop.
For: People who ride the 12, and the two friends who keep asking to see my sketchbook.
Why now: I have been drawing on this bus for months and the sketchbook is nearly full. I want to see them as a real object.
Limits: Sunday afternoons only, a small budget for printing, finished by the end of the month after next. My own drawings, no commissioned text.
Done: 50 copies, folded and stapled, with a stack left at the depot café if they say yes.
Not doing: Other routes. A website. A hand-bound edition. Maps, however much I want to draw maps.
Look at how much that last line protects. The maps idea will show up in week three, glowing and persuasive, and the brief already has an answer ready. It does not say maps are bad. It says maps are the next zine.
Spend your time on "done" and "not doing"
Most people breeze through those two lines, and they are the ones that save a project. Personal work rarely fails for lack of ideas. It fails because the finish line keeps moving, so nothing ever feels complete enough to show anyone.
A good "done" is boring and specific. "It looks amazing" cannot be checked. "It is framed, on the wall, and photographed" can. If the honest answer is that you are making this to learn a technique, say so: "done" might be ten test tiles and a page of notes, and no finished object at all. That counts, and writing it down stops you feeling guilty later.
"Not doing" works best when it names things you actually want. Listing "not building a rocket" is no help. Listing the dimmer you have already priced up is.
Three quick tests before you put the pen down:
- The friend test. Hand it to someone. Can they tell you what you are making and when it will be finished?
- The fork test. Think of a choice you know is coming. Does the page help you make it?
- The limits test. Is the plan possible in the hours you wrote down, or only in the hours you wish you had?
Failed the last one? Cut the scope before you cut the sleep.
Keep it where the work happens
A brief in a drawer does nothing. Tape it above the bench, make it the first page of the sketchbook, pin it to the top of your notes. Look at it at the start of each session, the same way you would check a map before setting off.
You will want to change it, and sometimes you should. Materials push back, and a project can turn out to be about something better than what you planned. Changing your mind is fine; drifting is the problem. So when the plan moves, cross out the old line, write the new one and add the date. It takes ten seconds, and it turns a vague slide into a decision you made on purpose.
Those dated changes are gold for your build log. If you do not keep one yet, the brief makes a natural first entry, and our post on documenting your project while you are still building it shows how to carry on from there.
Your future post is already half written
Here is the bonus. When the project is finished and you sit down to write about it, the page is still there, in the voice of the person who started. You know what you hoped for, what you ruled out and which limits shaped the thing. Those crossed-out lines are exactly the reversals and trade-offs that make for a great read, and we dig into them in how to write a process post that shows your decisions.
You can even publish the brief itself at the top of the post, crossings-out included, and let readers compare it with where you landed. Other makers love that kind of honesty, and it gives them a template to steal. If you are writing on WhizArts, a category you name yourself can hold the brief, the updates and the final post in one place; the toolkit page shows how profiles fit together.
So before you cut, mix, sketch or solder anything on your next project, set a timer for thirty minutes and fill one page. Then go make the thing, loudly and with total commitment, and leave the maps for next time.
Made by
WhizArts Editors
The WhizArts editors' own studio log: hands-on notes for makers and storytellers on documenting a build, writing process posts, photographing your work and sharing what went wrong.
- 8 posts



Comments 0
Quiet in here so far. Kick off the conversation.