Document Your Project While You're Still Building It

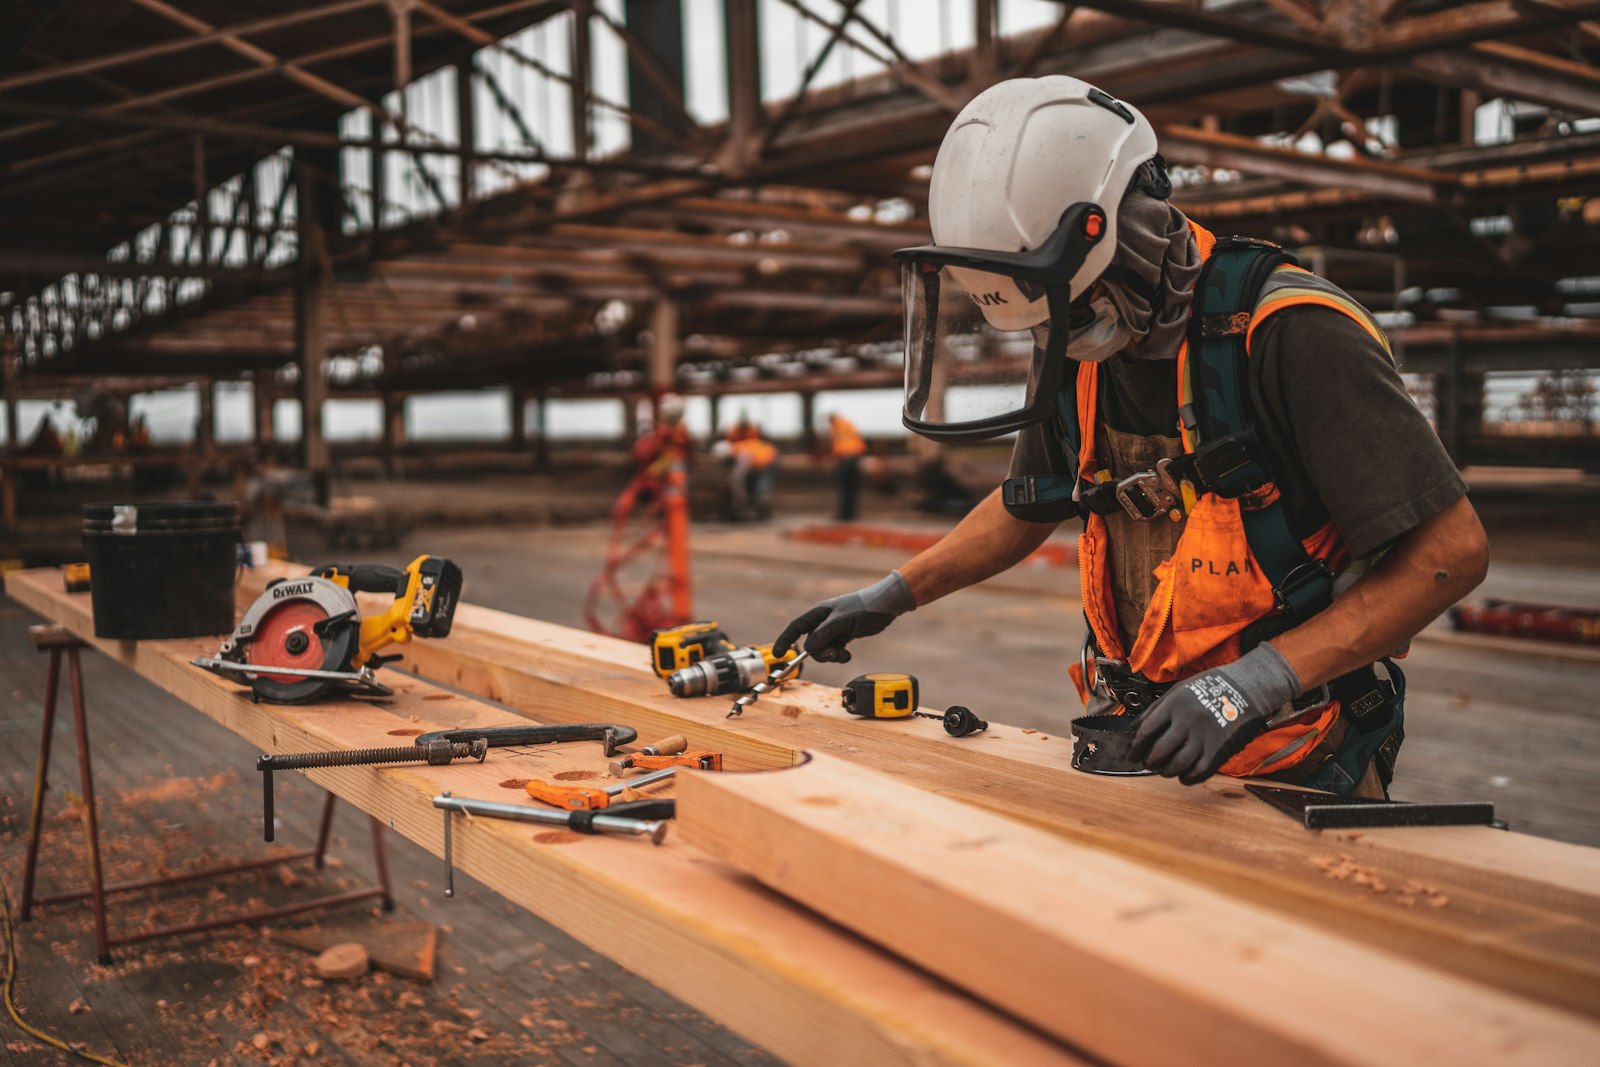
Most project posts get written after the fact. The bookshelf is finished, the zine is printed, the mural is dry, and only then does the maker sit down and try to remember how it all happened. By that point the interesting parts have already faded: the wrong turn on day three, the tool you borrowed, the moment you nearly gave up. What is left is a tidy summary that reads like a press release.
There is a better way, and it is not complicated. Document the project while you are still building it. Keep a running log, capture the mess as it happens, and let the finished post grow out of that raw material. Here is how we would set that up, in plain, practical steps.
Why the middle of a project is the best part to write about
Readers who make things are rarely looking for proof that you finished. They want to know how you got there. The middle of a project is where every useful lesson lives: the measurement you got wrong, the glaze that ran, the sketch you threw away, the trick you found by accident at midnight.
Those details are also the first ones memory throws out. A week after the work is done, you remember the outcome and maybe two or three highlights. The small decisions that would actually help someone else, like why you switched from screws to dowels or why you cut the second draft in half, quietly vanish. Writing while you build is the only reliable way to keep them.
Set up a build log before you start
A build log does not need special software. A notes app, a paper notebook or a single text file in a folder will do. What matters is that it is always within reach and that adding to it takes less than a minute. If logging feels like a chore, you will stop by day two.
We like a simple structure for each entry:
- Date and session: when you worked and roughly for how long.
- Goal: what you meant to get done today, in one line.
- What happened: what you actually did, including the detours.
- Decisions: any choice you made and the reason behind it.
- Next: the very first thing to do when you come back.
The "Decisions" line is the one that pays off later. A post that explains why you did something is far more useful than one that only lists what you did.
Write entries in rough language. Fragments are fine. Nobody will read the log except you, so it should be quick and true rather than polished.
Capture photos and notes in the moment
Take more pictures than you think you need, and take them before you clean up. The half-sanded board, the tangle of cables, the palette with three failed mixes on it: these are the images that make a process post believable. A finished piece on a white background says "look what I made". A messy bench says "here is how you could make it too".
A few habits help a lot:
- Shoot the same angle at each stage, so readers can see the change from step to step.
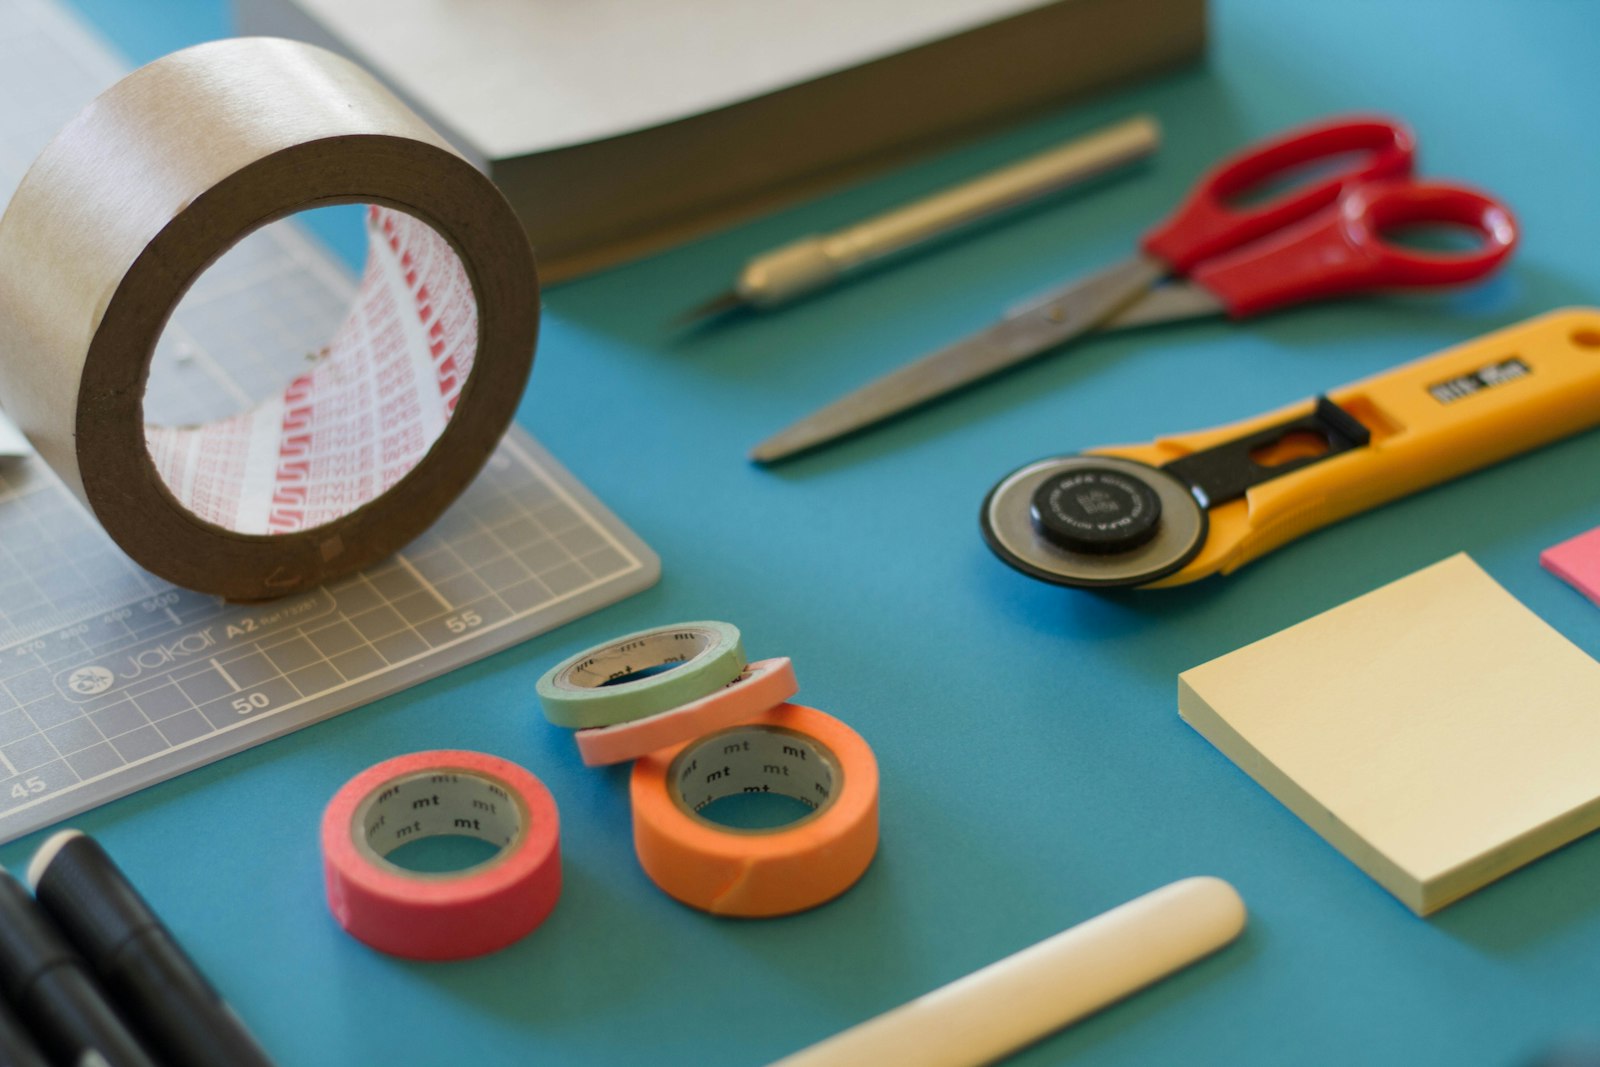
- Photograph your tools and materials laid out before you begin. It is the image people will come back to when they gather their own supplies.
- Snap a quick photo of any sketch, plan or note you make on paper, even a scribble on a receipt.
- Record the problem, not just the fix. A picture of the crack is worth more than a paragraph describing it.
Next to each batch of photos, add a line to your log saying what they show. For lighting and framing tips, our guide to photographing your work for a blog post goes into more detail.
Publish in installments, or save it for one big post
Once you have a log, you have a choice. You can publish short updates as you go, or keep everything private and write one complete post at the end. Both work, and each suits a different kind of project.
Short updates as you build
Installments work well for long projects: restoring a bike over a season, writing and illustrating a comic chapter by chapter, building a garden from bare ground. Each post covers one stage, ends with what is coming next, and gives readers a reason to come back. On WhizArts, readers can follow a writer's RSS feed, so regular updates are an easy way to build a small audience that sees every new step. You can also group the series under a category on your profile, so the whole run lives in one place.
One post at the end
A single post suits shorter projects or ones where the final reveal matters. The log still does the heavy lifting: you are writing from notes and photos rather than from memory, which makes the post richer and faster to write. Longer posts on WhizArts get a table of contents automatically, so readers can jump to the stage they care about.
Whichever you choose, decide early. It changes how you take notes. If you plan installments, you will want each log session to end at a natural stopping point you can write about.
Turn raw notes into a post readers can follow
When it is time to write, do not start from a blank page. Start by reading your whole log from the top and marking three things: the moments where something went wrong, the decisions you are glad you made, and anything that surprised you. Those marks are the skeleton of your post.
Then shape it:
- Open with the finished result, or the goal. One or two sentences and your best photo, so readers know where this is heading.
- Group the work into stages. Give each stage its own heading. Readers skim, and headings help them find their place.
- Keep the detours. Not every one, but the ones that taught you something. They are often the most useful part.
- End with what you would change. A short list of lessons is the part many readers save.
Cut repetition ruthlessly. Your log will have five entries that say "sanded again". The post needs one sentence about sanding and why it took so long. If you want a deeper look at shaping the narrative, read how to write a process post that shows your decisions.
Keep the habit going
The hardest part of documenting a build is not the writing. It is remembering to do it when your hands are covered in clay or the deadline is tomorrow. Make it as easy as possible: keep your phone or notebook in the same spot on the bench, and end every session with two minutes of notes before you tidy up.
Some sessions will produce nothing worth writing about, and that is fine. Log them anyway, even if the entry is just "cut parts, nothing new".
If you are a WhizArts writer, your profile is already set up to hold this kind of work: cover images, photos between paragraphs, categories you name yourself and a pinned "start here" section. The features page walks through all of it. If you get stuck on the mechanics, the help page answers the common questions.
Start your next project with an empty log open beside you. Future you, and every maker who reads what you write, will be glad you did.
Written by
WhizArts Editors
The WhizArts editors' own studio log: hands-on notes for makers and storytellers on documenting a build, writing process posts, photographing your work and sharing what went wrong.
- 6 posts



Comments 0
No comments yet. Be the first to share a thought on this post.