Writing a Studio Tour Post Other Makers Can Use

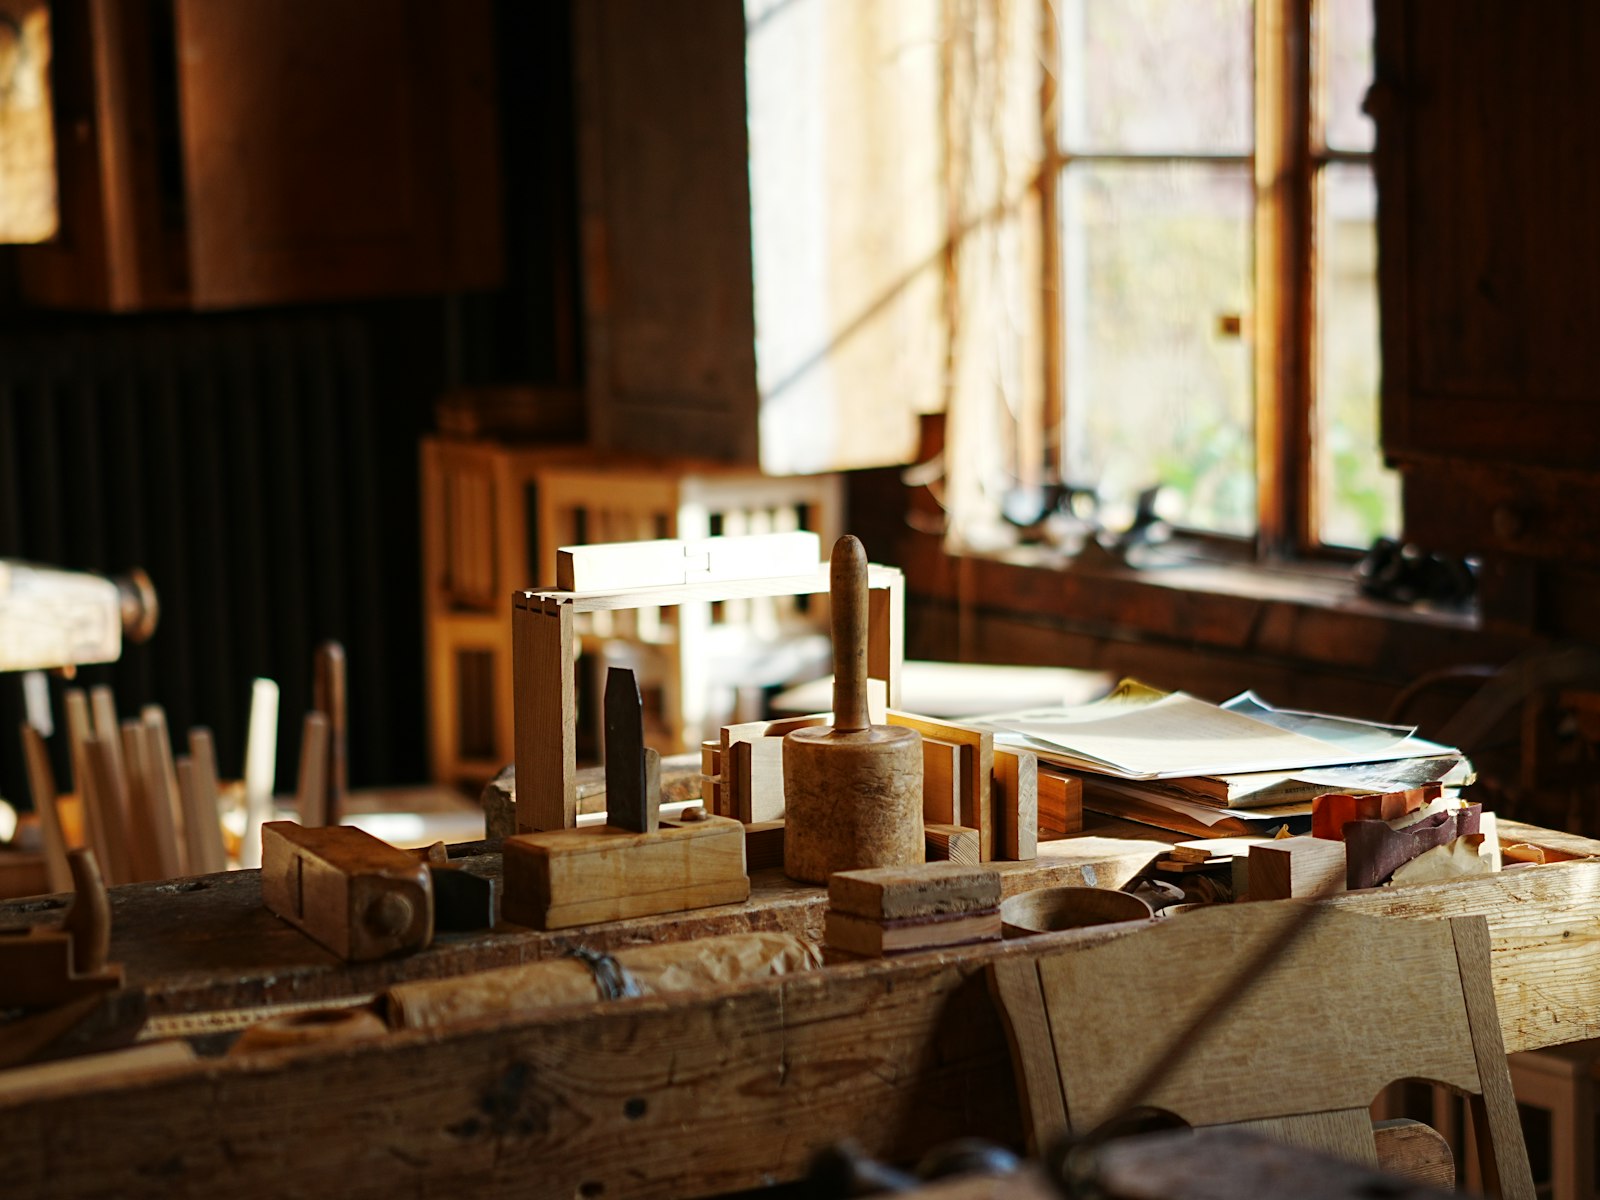
Studio tour posts are some of the most-read posts any maker writes, and some of the least useful. Too many of them are a slow pan across a shelf of labelled jars, a list of things bought, and a closing line about how lucky the writer feels. Readers enjoy the peek, then leave with nothing they can take back to their own corner of the kitchen table.
A good studio tour is different. It treats the space as a working system, explains the thinking behind it, and admits what still does not work. That is the version another maker can learn from, whether they have a converted garage or a single drawer. Here is how to write one.
Tour the workflow, not the furniture
The easiest way to structure a tour is room by room or wall by wall. It is also the least interesting. Readers do not need to know what sits to the left of the window; they need to know how work moves through your space.
Try following a single project from start to finish instead. Where do materials arrive and get stored? Where does the messy work happen, and where does the clean work happen? Where do half-finished pieces wait? Where does the finished piece get photographed or packed? Walking through those stages gives your post a natural order, and it shows the logic behind the layout without you having to spell it out.
If your space serves more than one craft, pick the main one and follow it, then add a short section on how the other work borrows the same space. A potter who also paints will have very different answers about dust, drying and light, and those trade-offs are exactly what readers want to see.
Explain the why behind every choice
Every setup is a stack of decisions. The bench is that height because you stand while you work. The glazes live on the bottom shelf because a jar fell once. The cutting mat is on the left because you are left-handed. These small reasons are the real content of a studio tour, and they are the part people copy.
For each area you show, aim to answer three questions:
- What problem does this solve? Clutter, back pain, lost tools, poor light, a cat who loves yarn.
- What did you try before? The earlier version is often more instructive than the current one.
- Who would this not suit? A wall of pegboard is wonderful until you rent and cannot drill. Say so.
This is the same habit that makes a strong project write-up. Our guide to writing a process post that shows your decisions goes deeper on finding the choices worth explaining, and the same approach works on a room as well as on a finished piece.
Show constraints honestly
Most makers do not work in a dream studio. They work on a balcony, in a shared bedroom, at a desk that has to become a dining table every evening. A tour that hides those limits is less useful than one that puts them up front.
Open with the honest shape of the space: roughly how big it is, whether it is shared, what you can and cannot change, and how much time you actually get in it each week. Then show how the setup bends around those limits. The folding table, the tools that live in one box so they can be packed away in five minutes, the drop cloth that turns any floor into a workspace for an afternoon.
These details make a tour encouraging rather than intimidating. A reader with a small space sees that serious work happens in places like theirs, and a reader with a big space still picks up clever ideas about storage and setup time.
Talk about tools without turning it into a shopping list
Readers will ask about your tools, and it is fine to name them. The trouble starts when the post becomes a catalogue. A long list of brands tells people what you own; it does not tell them what they need.
Focus instead on the role each tool plays. Which three tools do you reach for every single session? Which one changed how you work, and how? Which expensive purchase barely gets used? Grouping tools this way, by how often and how much they matter, is far more helpful than grouping them by price or by shelf.
Be generous with cheaper paths. If a tool you love has a basic alternative that does most of the job, mention it. If you started with something improvised and only upgraded years later, say what made the upgrade worth it. If a reader wants exact sizes and quantities for a specific build, point them to your project posts; a tour is not the place for a full inventory, and our notes on writing a materials list another maker can follow cover that job properly. Anything you received free or through an affiliate link should be disclosed right beside it.
Photograph the space as it really works
A studio tour lives or dies on its pictures, and there is a strong temptation to tidy everything into a magazine spread. Do tidy enough that readers can see what they are looking at, but resist erasing every sign of work.
A few shots that tend to help:
- A wide view of the whole space, taken from the doorway, so readers understand scale.
- Each working zone from where you actually stand or sit, at your own eye level.
- One storage close-up that shows the system, not just the contents.
- The space mid-project, with offcuts, scraps and the tool you put down a second ago.
Daylight from a window does most of the work, and a phone is plenty. Keep personal details out of frame: addresses on parcels, calendars, family photos, anything visible through the window that you would not want strangers to see. Write a short caption for each picture explaining what the reader should notice, so the photos carry the same reasoning as the text.
End with what you would change
The most valuable section of a studio tour is often the last one: the things that still annoy you. The outlet in the wrong place. The shelf that is too deep to see into. The chair you keep meaning to replace. The habit of leaving the floor covered in scraps.
Write these down plainly, and if you know how you plan to fix them, say so. If you do not, ask. Readers love to solve other people's storage problems, and the comments under a tour post can become a small library of ideas. On WhizArts, comments are reviewed before they appear, which helps keep that thread focused and kind.
A short "if I started again" list is also worth its weight. Knowing that you would buy the bigger bench first, or put the messy area nearest the sink, can save a beginner a year of rearranging. It also gives you a natural reason to revisit the post later; a follow-up tour a year on, showing what changed and why, is a story in its own right.
Before you publish, read the draft as a stranger with a smaller space and a tighter budget than yours. If they would come away with at least one idea they can try this weekend, your tour has done its job. If you want to know how posts are shown and organised on your profile, the features page has the details, and the help page answers the common questions.
Made by
WhizArts Editors
The WhizArts editors' own studio log: hands-on notes for makers and storytellers on documenting a build, writing process posts, photographing your work and sharing what went wrong.
- 7 posts


Comments 0
Quiet in here so far. Kick off the conversation.