Writing a Materials List Another Maker Can Follow

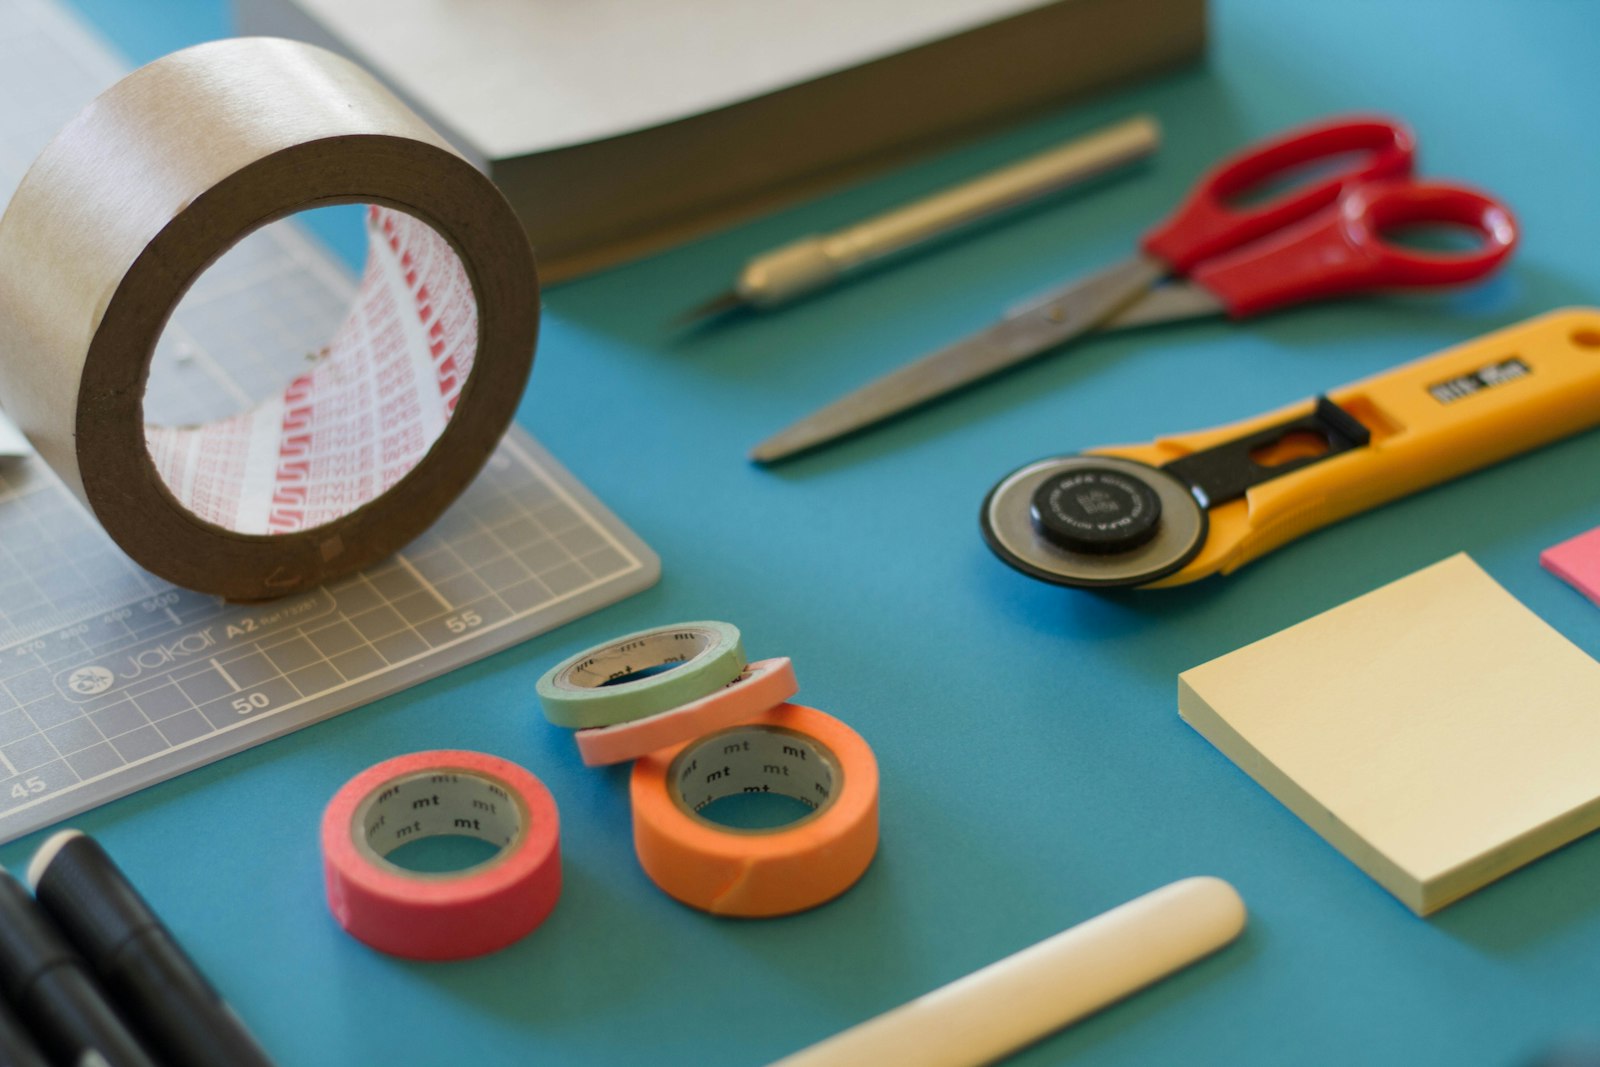
Somebody reads your project post, loves it, and decides to make one. They scroll up to your materials list, open a shopping tab, and hit the first line: "some wood glue". Then "fabric (cotton works)". Then "the usual tools". Ten minutes later they have closed the tab, and your beautiful project has one fewer maker trying it.
The materials list is the least glamorous part of a project post and, for anyone who wants to follow along, the most used. It is the bit people print, screenshot and carry into a shop. This guide is about writing one that survives that trip: specific enough to buy from, honest enough to trust, and kind to the person reading it.
Start from what you actually used
The most common problem with materials lists is that they are written from memory after the project is finished. Memory is generous. It forgets the second tube of glue, the offcut you borrowed from another project and the tool you bought halfway through because the old one was not up to it.
The fix is to collect the list while you work. Keep a running note, and every time something new comes off the shelf, add it with the brand, size and amount. Receipts help too. If you already keep a build log, this slots straight into it; our post on documenting a project while you are still building it covers how to make that habit stick.
When the project is done, lay everything you used out on the table before you write. It takes five minutes, and it is the best way to catch the item you would otherwise leave off.
Give quantities a reader can shop with
"Yarn" is not a quantity. "About 400 g of DK-weight wool, which was four 100 g skeins for me" is. A useful line tells the reader three things: what it is, how much they need, and what form it comes in when they buy it.
- Say what you used, then what you would buy. If the project used 1.6 m of fabric, tell people to buy 2 m and explain why: room for a mistake, or matching a print across a seam.
- Use units people can buy. Note both the amount you consumed and the size it is sold in, especially for paint, resin, clay and anything sold by the tub.
- Name sizes and grades. Screw lengths, sandpaper grits, needle sizes, wire gauges and paper weights matter. "Small screws" sends people back to you with questions.
- Mark what scales. If someone makes the project bigger or smaller, which items change? A short note such as "glaze amount roughly doubles for the large version" saves a lot of guessing.
Group the list in a way that matches how people shop or work: materials, then tools, then consumables like tape, gloves and sandpaper. Separate headings make it easier to scan, and on WhizArts longer posts get a table of contents built from those headings, so readers can jump straight to the list.
Offer substitutes, and say what they change
Not every reader can find the exact product you used. It may not be sold where they live, it may be out of stock, or it may simply cost more than they want to spend. A good list anticipates this.
For each key material, add a line on what else would work and, just as important, what would change if they used it. "Any PVA wood glue will do; a slower-drying one gives you more time to adjust the joint" is far more useful than "or similar". If you have only tried one option, say that too. "I have only made this with linen; cotton should work, but I have not tested it" is honest and still helpful.
Be clear about the items that should not be swapped. If a particular clay body, a food-safe finish or a certain adhesive is essential to the result, label it as such and explain why in one sentence. Readers are much more likely to respect a rule when they understand the reason behind it.
Be honest about what you'd skip
Every finished project leaves behind a few purchases that turned out to be unnecessary. The special jig you used once. The fancy brush that did the same job as the cheap one. The kit that came with three things you never opened.
Tell readers about them. A short "what I would skip" section is often the most valued part of a list, because it saves money and shelf space. It also builds trust: a writer who admits a purchase was a waste is easier to believe when they say something else is worth it.
The opposite list is just as useful: the item you nearly skipped and were glad you did not. If a cheap clamp or a second pair of scissors made the whole build smoother, say so. If something went wrong because you skipped an item, link to the write-up; our guide to sharing a failure so other makers can use it shows how to turn that into its own post.
Put safety notes where people will see them
Safety information buried at the bottom of a long post does not get read. Put it in the materials list itself, right next to the item it concerns, so the reader sees it when they are deciding what to buy.
- Note any protective gear the step genuinely needs, such as a respirator for spraying, gloves for resin or eye protection for cutting, and list it as a material, not an afterthought.
- Mention ventilation, curing times and storage where they apply, in plain words.
- Point readers to the manufacturer's instructions and safety sheets rather than paraphrasing them from memory. You know your project; the maker of the product knows the product.
- If something is not suitable for children, pets or food contact, say so clearly.
Keep the tone calm. The goal is not to scare people away from a project, it is to make sure they start it prepared. If you are unsure about something, say that you are unsure and suggest where they can check.
Talk about money without pretending
Cost is the question nearly every reader has and few posts answer well. You do not need a spreadsheet, but you do owe readers an honest picture.
Separate what the project cost you from what it might cost them. Maybe you already owned the tools, used leftovers or bought in bulk. Say so: "I spent roughly this much on new materials, but I already had the saw and the clamps." Prices vary by place and change over time, so give your own figures as a rough guide with the date, and avoid presenting them as anything more.
If you received anything free, at a discount or through an affiliate link, disclose it right next to the item. Readers deserve to know, and it keeps the list trustworthy. If you are unsure what belongs in a post, the community guidelines are a quick read. A budget version of the list, built from your substitutes and your skip section, is a generous extra for makers watching every coin.
Then invite questions. Someone in the comments will ask whether a cheaper option works or where to find a part, and your answers become part of the list for the next reader. Comments on WhizArts are reviewed before they appear, so the thread under your post tends to stay useful. A materials list is never quite finished; it just gets better each time someone tries to follow it.
Written by
WhizArts Editors
The WhizArts editors' own studio log: hands-on notes for makers and storytellers on documenting a build, writing process posts, photographing your work and sharing what went wrong.
- 6 posts




Comments 0
No comments yet. Be the first to share a thought on this post.