Telling the Story Behind a Finished Piece

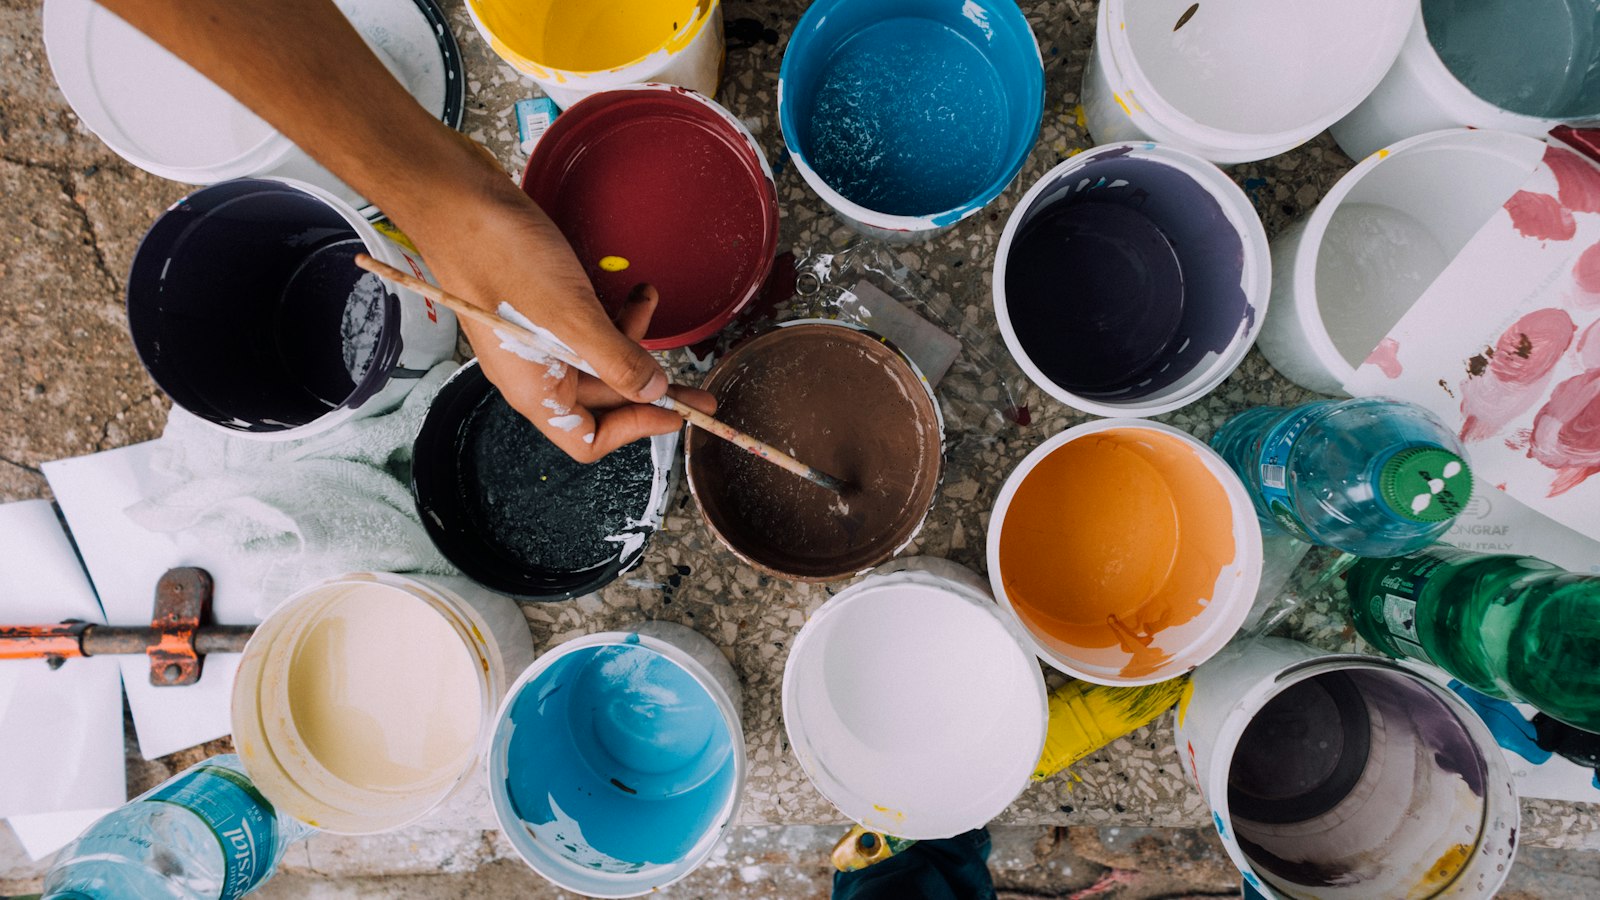
Every finished piece has a story behind it, even the ones that seem simple. The ceramic cup started as a gift for someone who always drinks from chipped mugs. The illustration grew out of a street you walked down every day for a year. The short film began with an argument about a song. That story is often what turns a viewer into a reader, and a reader into someone who remembers your work.
Yet many makers freeze when it is time to write about a finished piece. The work feels like it should speak for itself, and anything you add sounds either like bragging or like an artist statement full of big words. This guide is about finding the middle ground: telling the story behind your work clearly, warmly and without fuss.
Why the story matters as much as the object
A photo shows what you made. A story shows why it exists. People connect with that "why" in a way they rarely connect with dimensions and materials alone. When you share where an idea came from and what it meant to you, readers start looking at the work differently. They notice details they would have skipped.
This is not about inventing meaning. Plenty of pieces are made simply because the maker wanted to try a technique or had leftover materials. That is a story too, and an honest one. The aim is to share whatever is genuinely true about how the piece came to be, in a way someone else can relate to.
A post about a finished piece is also different from a process post. A process post walks through the decisions stage by stage; we cover that in how to write a process post that shows your decisions. The story post zooms out. It is about the piece as a whole: where it came from, what it is, and what it means now that it exists.
Find the spark: where did this start?
Most good stories about a piece begin with a single, specific moment. Not "I have always loved nature", but "I found a wasp nest on my balcony and could not stop looking at the paper walls". Specific beginnings are easier to write and far more interesting to read.
Ask yourself a few questions and jot down quick answers:
- What was the first thing that made you want to make this?
- Was there a person, a place, a conversation or an object involved?
- What problem were you trying to solve, or what question were you trying to answer?
- When did you know the idea was worth pursuing?
One clear answer is usually enough to open the post. Resist the urge to explain everything up front. Give readers the spark and let the rest unfold.
Shape the story with a beginning, a turn and an ending
You do not need a complicated plot. A simple three-part shape works for almost any piece:
- The beginning: the spark and what you hoped to make.
- The turn: the moment the piece became something different from what you planned. Maybe the material pushed back, or you realised halfway that the real subject was something else.
- The ending: what the finished piece is now, and how you feel about it.
The turn is the heart of the story. It is where readers lean in, because it is where you learned something. If the piece came out exactly as planned, the turn might be smaller: a detail you added at the last minute, or a reaction from someone you gave it to that surprised you.
Keep the ending honest. You are allowed to say the piece is not perfect, or that you are still unsure about one part. Readers trust makers who are clear-eyed about their own work. If the story includes a real setback, our guide to sharing a failure so other makers can use it has ideas for writing about it well.
Describe the work so readers can see it
Even with good photos, words help people look closer. Describe a few physical details that a photo cannot fully capture: the weight of the bowl in a hand, the smell of the oil paint, the sound the hinge makes, the way the colour shifts in evening light.
Use plain, concrete words rather than abstract ones. "The glaze pools dark green in the bottom of the cup" paints a picture. "The piece explores themes of depth and transformation" asks the reader to do all the work. If you catch yourself writing a sentence that could describe any artwork by anyone, rewrite it until it could only describe yours.
Lead the post with your best image of the finished piece as the cover, then place detail shots next to the paragraphs that describe those details. On WhizArts, every post can carry a cover image and photos between paragraphs, which makes this pairing easy. For help getting those images right, see photographing your work for a blog post.
Skip the jargon and the false modesty
Two habits weaken a lot of posts about finished work. The first is jargon: dense, theory-heavy language that pushes readers away. If a technical term matters, use it and explain it in a few words. Otherwise, write the way you would talk to a friend who asked about the piece over coffee.
The second is false modesty. Phrases like "this is just a little thing I made" or "it is probably not very good" undercut the work before anyone has had a chance to look. You do not need to oversell either. Simply describe what you made and why, and let readers decide.
A handy check: read the post out loud. Anything that sounds stiff, or that you would never actually say, can probably go.
Give the story a home on your profile
A single story post is lovely. A set of them becomes a portfolio with a voice. On WhizArts, your profile works as your blog, and you can sort posts into categories you name yourself, such as "Finished pieces" or "Commissions". You can also pin a short "start here" section at the top that points newcomers to your favourite stories.
Tag your posts with topics too, so readers exploring a subject across the whole community can find your work alongside other makers. And when people leave comments, reply to them. Comments are reviewed before they appear, so conversations tend to stay friendly. The features page has the full list of what a profile can do.
The next time you finish something, before you move on to the next project, spend half an hour writing down where it came from. The work will be better understood for it, and so will you.
Written by
WhizArts Editors
The WhizArts editors' own studio log: hands-on notes for makers and storytellers on documenting a build, writing process posts, photographing your work and sharing what went wrong.
- 6 posts



Comments 0
No comments yet. Be the first to share a thought on this post.